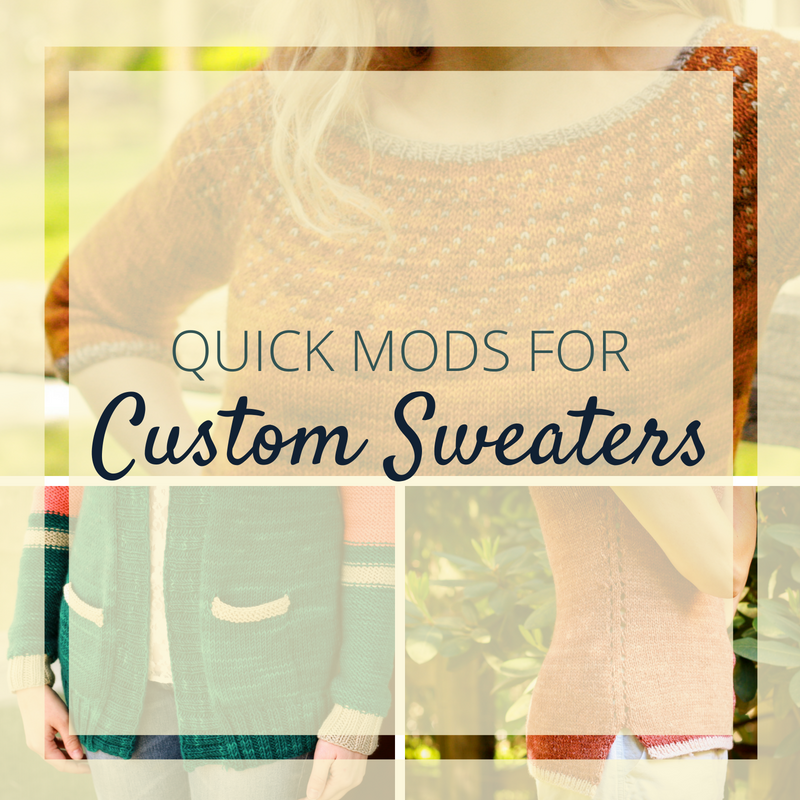
Quick Mods for Custom Sweaters

It might seem the wrong time of year to be discussing sweater knitting, but if you want those cute fall sweaters, the best time to start them is NOW! But, before you cast on, I thought I'd offer some ideas for making your sweaters uniquely you without having to rewrite entire patterns.
Knitting is, in part, about creating unique, well-crafted garments that will last for years.
Sometimes, though, we get a little too comfortable following patterns. We forget that we're allowed to make changes, as if the pattern police are going to take away our needles if we dare to knit the ribbing a little longer, or the collar a little shorter.
But making small modifications is a great way to knit a truly unique sweater without having to design it from scratch. It's also a good way to become more comfortable with your own knitting creativity.
I put together a quick list of modifications, from simple to more complicated, to consider when knitting your next sweater.
Ribbing length
Many a sweater pattern starts the same way: CO X sts and work in 2x2 rib for 2 inches. Is 2" a magic number? No! This is an easy modification that, for the most part, will not alter the final fit of your sweater or require any math. So feel free to cut it short or extend it--the world is your oyster.
And speaking of trim, while 2x2 ribbing is often used because it's nice and stretchy, try experimenting with other options at the hem, collar and cuffs: 1x1 twisted rib, mistake rib, garter stitch, or even stockinette for a rolled hem/collar.
Contrast colors

I snuck some contrast color in on the pocket lining of Mister Postman!
Adding a second color can really liven up a plainer sweater. You can go subtle with a yarn that's just a few shades lighter or darker than your main color, or bold with something bright and eye catching. Try using it along the hems and collar, add some stripes, or try the colorblock trend and knit body and sleeves in one color, and then the yoke and sleeve caps in another.
Sleeve length
Here's a quick mod that can really change the look of your sweater--try a different sleeve length! You may need to adjust the spacing of the sleeve increases/decreases, but sleeves that stop just above or below the elbow or even short sleeves are a simple way to change things up (and they mean a project that's finished sooner and uses less yarn!). Especially if you always find yourself pushing your sleeves up, don't be afraid to knit them to exactly the length you want. You could even knit them extra long and add a thumb hole in the cuff (this is how I wore every sweatshirt through college)--at the point where you thumb would poke through, work the cuff flat for 1 1/2" or so, and then switch back to knitting in the round to finish off.
Filler stitches
The majority of sweaters use stockinette as their "base" stitch, adding lace, cables, etc around it. But there's no reason you can't liven things up by using reverse stockinette, seed, moss, or garter stitch as your filler stitch. Be sure to make adjustments for gauge, if necessary, and bear in mind that some of these stitch patterns are stretchier than others.
Waist shaping

Torbellino has no waist shaping at all!
You may need to adjust the spacing of the increases and decreases, but modifying the waist shaping on a garment will change the whole look. Give a close fitting sweater a more casual shape by working fewer (or no!) decrease rounds, or make a loose fitting sweater more sophisticated with an hourglass shape.
Tubular cast on
Tubular cast on used for a hat
Tubular cast ons are fiddly, but it's hard to argue with the results--the tidy looking hem really gives your finished garment a polished look. Ysolda offers a thorough tutorial on this technique here.
Add a hood

Cartero was the first hood I ever designed, and it was easy peasy!
Removing a hood is pretty easy--just don't knit one!--but adding one is a little more challenging. It's probably easier than you think, though. You pick up stitches around the collar as usual, increase around the center back stitch to give it a little depth, then work straight until the hood is as tall as you want, divide the stitches and Kitchener them together. Voila! You can also knit a hood separately and sew it on.
Zipper vs. buttons
If you know your way around a zipper--or if you're willing to learn!--replace a button front with a zipper to give your cardigan a unique element. Tech Knitter's no-sew method is a great place to start.
Pullover vs. cardigan
Really change things up by making a pullover into a cardigan, or vice versa! This is a bigger modification, but if you love everything about a pattern except the sweater style, take matters into your own hands to get the sweater you really want! To convert your pullover into a cardigan, work flat and make sure you subtract the stitches for the buttonband from your total. To convert a cardigan to a pullover, work in the round, but add extra stitches to cover the buttonband. Already finished a pullover and wish it were a cardigan? Try steeking it! (EEK!)
What are your favorite simple ways to add your own touch to your sweaters?
If you enjoyed this post, you may also like . . .